


Learning to shoot manual can be daunting. When I set out to learn my DSLR – I was instantly overwhelmed. I had even taken 4 years of photography in school but turning that dial from Auto on my fancy digital camera totally scared me.
I quickly learned that today’s digital camera’s have something that the old fashion film camera I shot with in school didn’t – training wheels. Yup, they have a way for you to practice the principals of photography while still helping you out a long the way.
What are these magic little training wheels you ask? I point you to Shutter Speed priority mode and aperture priority mode. I’m going to talk about aperture priority mode today.
First a couple of basics – and I’m not going to spend a lot of time here now because there are amazing articles and resources easily accessible on the web (and in your library).
1. The most important element to all pictures is light. Learning how to manage that light to properly expose your picture is critical to taking good pictures in Manual Mode. And learning how to manipulate the light opens up a whole world of creative possibilities.
2. The three settings that affect how much light your camera allows in are: Aperture, Shutter speed and ISO. These settings make up what is called the exposure triangle and your goal is to learn how these three settings work in relation to each other and how to manage them in tandem to properly expose your image.
3. Each of these settings manages light in a different way and will have a unique affect on your final image.
I found the best way to learn how to use each of these settings was to isolate it and understand how it affects the other settings and my final image. So grab your camera because the best way to learn this is to do it yourself.
First turn that camera on. Now look at your dial. You are going to change it to Aperture Priority Mode (the A for Nikons and the AV for Canons).
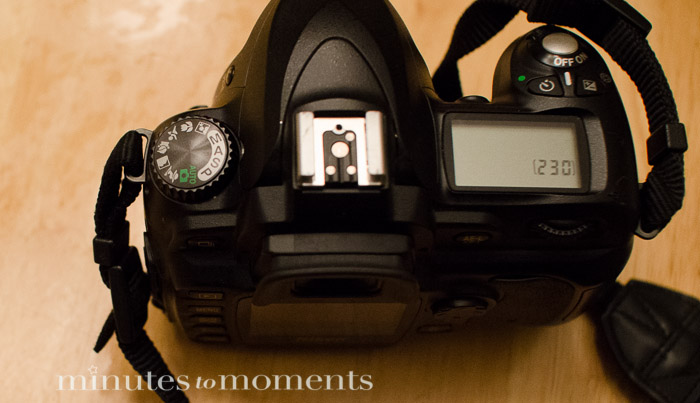
What you have just done is tell your camera that you want it to let you pick the aperture setting and you want the camera to appropriately set Shutter Speed to ensure you have a well exposed picture.
Aperture is the size of the opening in the lens when the picture is taken. The lower the aperture number (or f-stop) the bigger the opening. Conversely the higher the aperture number the smaller the opening. As I said before each setting does more than just control light. Aperture also controls your depth of field. A low aperture (large opening) has a very shallow depth of field, meaning that only things in the same plane as what you focus on will be sharp. Everything closer or further away from your subject will be soft or blurred. On the other hand a high aperture (small opening) gives you a very wide depth of field and will allow more of your image to be sharp and in focus.
So here is what you do.
Head to a well lit location (I preferred shooting outside in natural light while I was learning) and pick a subject. I recommend picking an inanimate object so you ensure that everything, including your distance from your subject, remains the same in your series of shots. And with your camera set to A or AV select your lowest aperture setting (this will vary based on your lens). Focus on your subject and click. Your camera will adjust your shutter speed and your ISO to make sure that the image is properly exposed.
Take note of the settings your camera used: aperture(which you set), shutter speed and ISO (set by the camera).
Now move to the next higher f-stop. Stay where you are, focus on the same subject and take another picture. Again record your settings. Repeat this until you have worked your way up through your f-stops (feel free to skip a few in between but make sure you take enough that you can see how the camera’s settings are changing and what other affect the change in aperture is having on your image.)
I’ve taken the following series to demonstrate. Thomas is a very good model! Also note the clutter, I left it there so you can watch what happens when I increase the aperture.
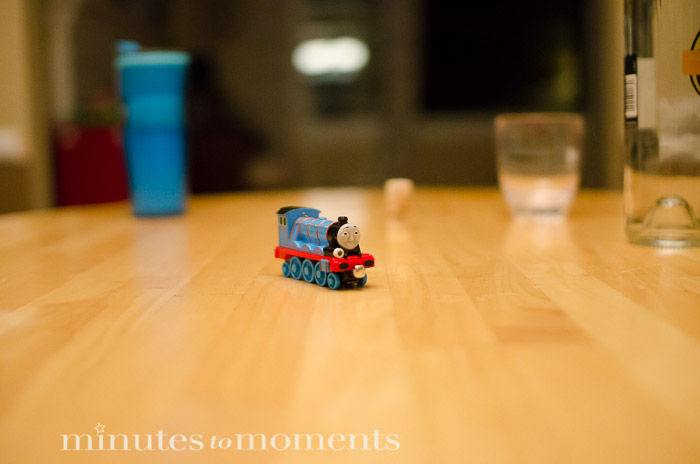
F1.4 SS 1/1600 ISO 3200

F3.5 SS 1/250 ISO 3200
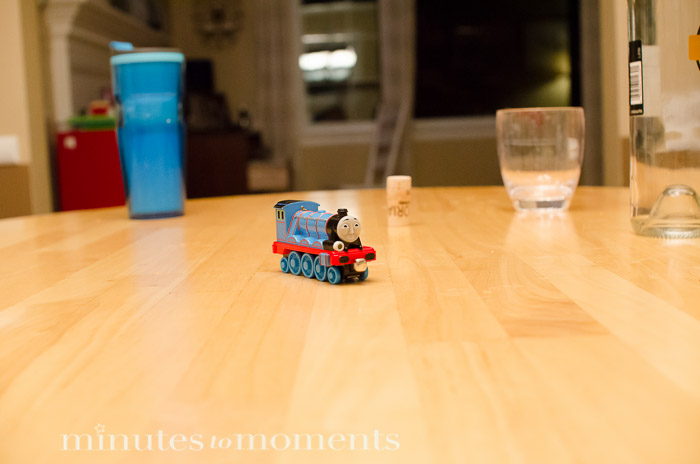
F5.6 SS 1/100 ISO 3200
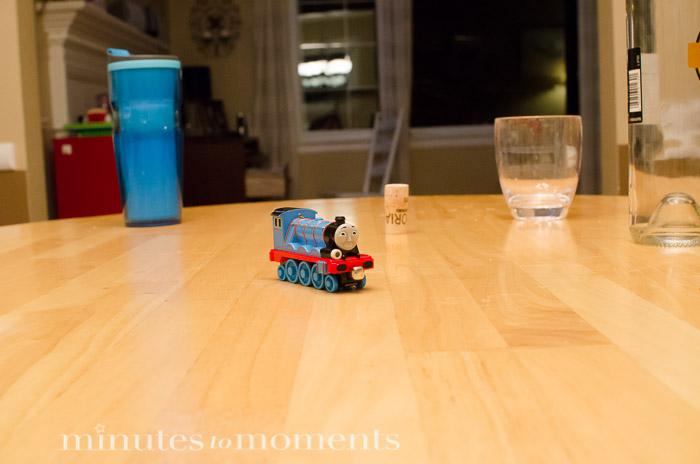
F 9.0 SS 1/40
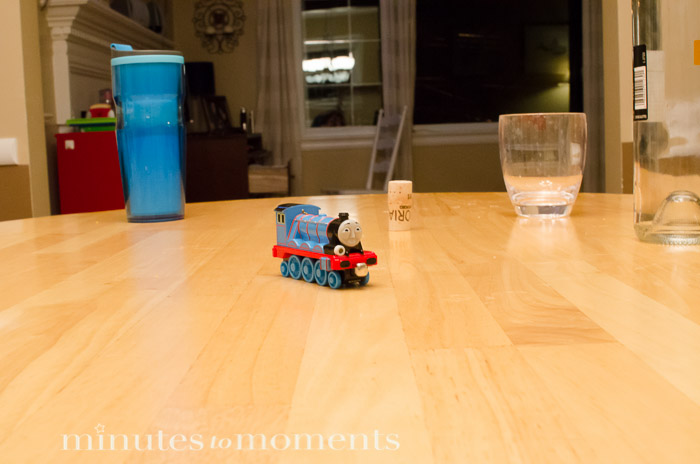
F 16 ss 1/13 IS 3200
Do you see that as I increase my f-stop (make the opening smaller) my shutter speed decreases to compensate for the loss of light? Do you notice how the background in my images becomes clearer and more in focus as I increase my f-stop (that’s depth of field).
A few last things:
Many photographers prefer a low aperture (wide opening) when shooting portraits. It isolates your subject and smooths the rest of the scene into a wonderful blurry backdrop.
However, if you are shooting landscapes or something with a lot of detail like a sporting event a higher aperture (smaller opening) will allow you to capture all of the detail and tell the story of the scene.
There are some well known photographers who recommend shooting in Aperture priority mode as it gives them the freedom to decide how the scene is portrayed yet lets the camera ensure that exposure is nailed by setting the other settings. Next week we’ll talk about shutter speed I’ll show you why having control over that setting is just as important.
Now go grab your camera and get out of Auto mode!


Very nice article and love the Thomas pictures. (My son has the same one and he LOVES Thomas.) Looking forward to seeing more photos!